In my decade-plus journey as a professional photographer at Xmixi, I’ve seen countless trends come and go. But one piece of gear has proven its staying power like no other: the humble ring light. Whether you’re wielding a professional DSLR, a mirrorless camera, or even your smartphone, pairing it with the right ring light can transform your photos and videos from amateur to amazing. This guide will walk you through everything you need to know about creating the perfect partnership between your ring light and camera.
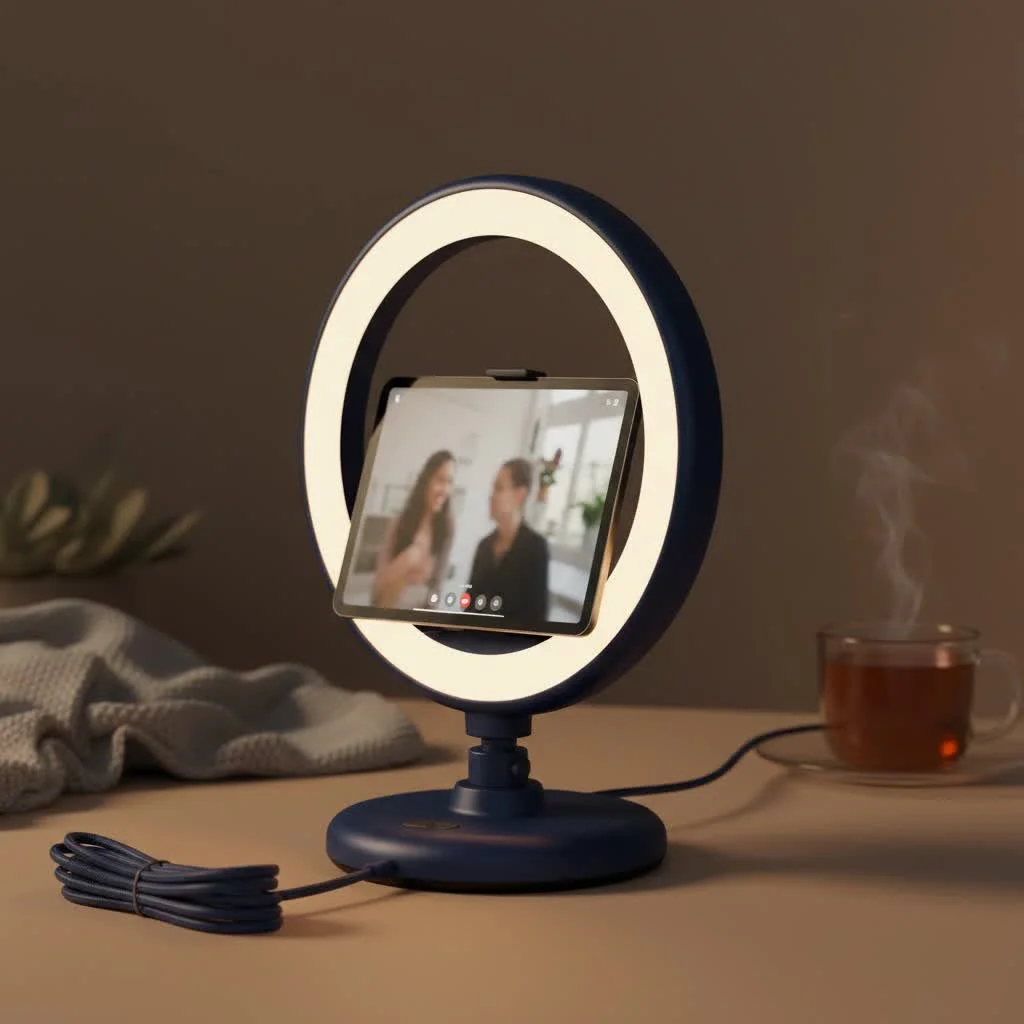
We’ll cover how to choose the right gear, nail the setup, and dial in the perfect camera settings to achieve flawless, professional-looking results for any scenario, from streaming to portrait photography. For shop curated ring lights on this site.
Why Your Camera and Ring Light Are a Perfect Match
Before we dive into the “how,” let’s talk about the “why.” A ring light isn’t just a circular lamp; it’s a tool designed to create soft, direct, and incredibly flattering light. Its unique shape casts an even glow over your subject, effectively eliminating the harsh shadows that often plague photos taken with a single, small light source.
When you place your camera lens in the center of the ring, you’re illuminating your subject from the same axis as you’re shooting. This technique minimizes skin imperfections, creates a beautiful, soft look, and produces the iconic “catchlights”—perfect circles of light reflected in the eyes—that add a touch of life and vibrancy to any portrait. It’s this shadow-killing, beauty-enhancing quality that makes the ring light and camera combination a go-to for content creators, makeup artists, and photographers worldwide.
Choosing Your Gear: A Match Made in Heaven
The first step to great lighting is selecting the right tools for the job. Not all ring lights are created equal, and the best camera depends entirely on your specific needs.
Selecting the Right Ring Light
When shopping for a ring light, you’ll encounter a few key specifications. Here’s what to focus on:
- Size: Ring lights typically range from small 6-inch models to large 18-inch or bigger versions. For smartphone use or webcam lighting, a 10 to 12-inch light is often sufficient. If you’re shooting with a larger DSLR or mirrorless camera, an 18-inch ring light is the professional standard, providing broad, soft coverage.
- Brightness (Lumens): Look for a ring light with adjustable brightness settings. This allows you to control the intensity of the light to suit your environment, preventing your shots from being too dark or blown out.
- Color Temperature (Kelvin): Many modern LED ring lights offer adjustable color temperature. This feature is invaluable, allowing you to switch between a warm, inviting glow (around 3200K) and a cool, clean daylight look (around 5600K). For video calls, a slightly warmer temperature between 4500K and 5000K often looks most natural.
- Color Rendering Index (CRI): CRI measures how accurately a light source reveals the true colors of your subject. A CRI of 90 or above is excellent and ensures that skin tones and makeup colors look natural and vibrant on camera.
Pairing with the Perfect Camera
|
Our Picks for the Best Ring Light in 2026
As an Amazon Associate I earn from qualifying purchases.
|
||
| Num | Product | Action |
|---|---|---|
| 1 | NEEWER Basics 10\" Selfie Ring Light with Tripod Stand/3 Phone Holders Compatible with iPhone/3 Cold Shoes/Remote, LED Ringlight Lighting for YouTube TikTok Vlog Video Recording Makeup Streaming, R11 |

|
| 2 | Weilisi 12\'\' Ring Light with Stand 72\'\' Tall & 2 Phone Holders,38 Color Modes Selfie Light with Tripod Stand, Big LED Ring Light for iPhone/Android/Camera,YouTube,Makeup |
|
| 3 | UBeesize 12\'\' Selfie Ring Light with 62’’ Tripod Stand for Video Recording, Live Streaming(YouTube, Instagram, TIK Tok), Compatible with Phones, Cameras and Webcams |
|
| 4 | Weilisi 10\" Ring Light with Stand 72\'\' Tall & Phone Holder,38 Color Modes Selfie Light with Tripod Stand,Stepless Dimmable/Speed LED Ring Light for iPhone & Android,YouTube, Makeup,TIK Tok |
|
| 5 | Aureday 14\'\' Selfie Ring Light with 62\'\' Tripod Stand and Phone Holder, Dimmable LED Phone Ringlight for Makeup/Video Recording/Photography, Circle Lighting for All Cell Phones&Lightweight Cameras |
|
| 6 | Upgraded Ring Light for Laptop, Monitor, Desk & Phone – Eye-Caring LED Webcam Light with Screen-Safe Clip, Adjustable Monitor Mount, 50 Lighting Modes, Computer Light for Zoom, Streaming, Video Calls |
|
| 7 | EMART 10\" Ring Light with 55\" Extendable Tripod Stands and Phone Holder, Dimmable LED Circle Round Light for Selfie Camera Photography/Makeup/YouTube Video/Vlogging/Live Streaming |
|
| 8 | 10\" Selfie Ring Light with 73\" Tripod Stand & 1 Phone Holder, LED Camera Ringlight with 48 RGB Colors Modes & Musical Rhythm Mode and 12 Brightness Dimmable for TikTok/Makeup/Photography/Vlog |
|
| 9 | STALLY 10.2\" Ring Light with Stand, 75\" Tall Ring Light with Phone Holder and Wireless Remote, 12 Dimming Levels, 32 Color Modes Selfie Light Tripod for iPhone, Live Stream, Makeup, YouTube, TikTok |
|
| 10 | Sensyne 10\'\' Ring Light with 50\'\' Extendable Tripod Stand, LED Circle Lights with Phone Holder for Live Stream/Makeup/YouTube Video/TikTok, Compatible with All Phones |
|
The beauty of a ring light is its versatility. It can elevate the quality of nearly any camera.
- DSLR and Mirrorless Cameras: The gold standard for professional photography and videography. These cameras offer manual control over settings, interchangeable lenses, and superior image quality. When paired with a large ring light, you have a powerful studio setup.
- Webcams: A quality external webcam combined with a desktop ring light can dramatically improve your look for video conferencing and streaming. The even lighting helps webcams produce a clearer, less grainy image.
- Smartphones: Don’t underestimate the camera in your pocket. Modern smartphones have incredibly capable cameras. Paired with a ring light, they become a formidable tool for vlogging, social media content, and high-quality selfies.
The Ultimate Setup Guide for Your Ring Light and Camera
Once you have your gear, it’s time to put it all together. Proper setup is crucial for achieving that signature, professional look.
Step 1: Mounting Your Camera
Most 18-inch ring lights come with a cold shoe mount or a threaded screw in the center, designed specifically for cameras.
- Secure the Ring Light: First, mount your ring light onto a sturdy light stand and adjust it to the desired height.
- Attach the Mount: If your ring light has a cold shoe mount, slide your camera’s hot shoe onto it and tighten. For a screw mount, you may need a small ball head adapter, which screws into the ring light and then into the tripod socket on the bottom of your camera.
- Position the Lens: The goal is to have your camera lens sitting directly in the center of the ring. This ensures the light is coming straight from the camera’s perspective for that classic, shadowless effect.
Pro Tip from Isabella Martinez, Portrait Photographer: “For heavier camera and lens combinations, I always recommend mounting the camera on a separate, sturdy tripod placed just behind the ring light stand. You can then push the lens through the center of the ring. This prevents the weight of the camera from making the ring light top-heavy and unstable.”
Step 2: Dialing in the Perfect Camera Settings
With your gear in place, it’s time to tell your camera what to do. While “auto” mode can work in a pinch, taking control of your settings manually will unlock your setup’s true potential.
- Set Your Mode: Switch your camera to Manual (M) mode. This gives you full control over the exposure triangle: aperture, shutter speed, and ISO.
- White Balance (WB): This is the most important setting. Set your camera’s white balance to match the color temperature of your ring light. Most LED lights are “daylight” balanced (around 5600K). Setting this manually prevents your camera from guessing and ensures your colors are accurate.
- Aperture: A good starting point for portraits is an aperture between f/4 and f/5.6. This provides a decent depth of field, keeping your subject’s entire face in sharp focus.
- Shutter Speed: For still photography, start with a shutter speed of around 1/160s. This is fast enough to prevent motion blur from slight movements. For video, your shutter speed should typically be double your frame rate (e.g., for 30fps video, use a 1/60s shutter speed).
- ISO: Keep your ISO as low as possible (e.g., 100 or 200) to minimize image noise or grain. Since you are controlling the light source, you should have plenty of light to work with without needing to raise the ISO.
Take a test shot. If it’s too bright, dim the ring light first before adjusting camera settings. If it’s too dark, increase the light’s brightness.
Step 3: Positioning for Flawless Lighting
The “classic” ring light setup is head-on, but don’t be afraid to experiment.
- The Classic Look: Position the light directly in front of your subject, about arm’s length away. This provides that signature flat, flattering light perfect for beauty shots and vlogs.
- Adding Drama: For a more sculpted look with some soft shadows, move the ring light to a 45-degree angle from your subject and raise it slightly above eye level. This mimics traditional portrait lighting setups and can add more depth and dimension to the face.
Common Problems and How to Solve Them
Even with the perfect setup, you might run into a couple of common issues. Here’s how to fix them.
How do you avoid ring light reflections in glasses?
This is the number one challenge for anyone wearing glasses. The direct, head-on light creates perfect circular reflections in the lenses. The solution is all about changing the angle.
- Raise the Light: Move the ring light so it’s significantly higher than your eye level.
- Angle It Down: Tilt the light down towards your face at a 45-degree angle.
- Move It to the Side: Shift the light stand about 45 degrees to your left or right.
By changing the angle of the light, the reflection will be cast downwards and away from your camera’s line of sight, effectively making it disappear from the shot while still beautifully illuminating your face.
How do I soften harsh light or shadows?
If your light feels too intense even on the lowest setting, or if you’re using it at an angle and the shadows are too harsh, you can soften it further. Increase the distance between the light and the subject. A larger effective light source (achieved by moving it back) creates softer light. Additionally, ensure the diffusion panel that came with your ring light is in place.
Frequently Asked Questions (FAQ)
What size ring light do I need for my DSLR camera?
For a DSLR or mirrorless camera, an 18-inch ring light is the recommended size. It’s large enough to provide soft, wrapping light for portraits and allows ample space to position your camera in the center.
Can I use a ring light with my smartphone camera?
Absolutely. Many ring lights come with a smartphone holder that mounts in the center. This is an excellent and popular setup for vlogging, live streaming, and creating high-quality social media content.
What are the best camera settings to use with a ring light?
A great starting point for manual mode is a white balance matched to the light (e.g., 5600K), an ISO of 100-200, a shutter speed of 1/160s for photos (or double your frame rate for video), and an aperture of f/4-f/5.6. Always take a test shot and adjust from there.
Is a ring light good for all types of photography?
While a ring light excels at portraits, beauty shots, and video work due to its flat, flattering light, it’s not the ideal tool for every scenario. For photography that requires dramatic shadows and deep textures, like moody character portraits or complex product shots, other lighting modifiers like softboxes or snoots would be more appropriate.
Your Turn to Shine
The combination of a ring light and a camera is more than just a setup; it’s a gateway to creating clean, professional, and engaging visuals. By understanding how to choose your gear, dial in your settings, and position your light, you have the power to control your image completely.
Now it’s your turn. Experiment with these techniques, try different angles, and don’t be afraid to break the rules. The perfect lighting is waiting for you to create it. Share your experiences and let us know how you’re using your ring light and camera to bring your vision to life.
Get our weekly buyer guide
Practical specs, not advice. Unsubscribe anytime.
As someone who does a lot of streaming, getting the right light is crucial. I appreciated the detailed breakdown of how to integrate a ring light for professional-looking results. My old setup was giving me harsh shadows, but after adjusting based on the guide, my streams look so much more polished. Good stuff!
I’m just getting into portrait photography, and this really helped me understand the ‘why’ behind using a ring light. The explanation of how it eliminates shadows and creates that nice catchlight was super clear. My portraits have improved dramatically since I started applying these techniques with my DSLR.
I’ve been struggling with uneven lighting for my YouTube videos for ages, and this guide was a game-changer. The tips on pairing a ring light with my smartphone camera made such a difference. My face is finally evenly lit, and I don’t have those weird shadows anymore. Definitely recommend trying out the setup advice here!
The information on camera settings was pretty helpful, especially for my mirrorless camera. I did find that some of the ring light recommendations felt a bit out of my budget, even for the entry-level options. It would have been nice to see a few more super affordable suggestions for beginners.