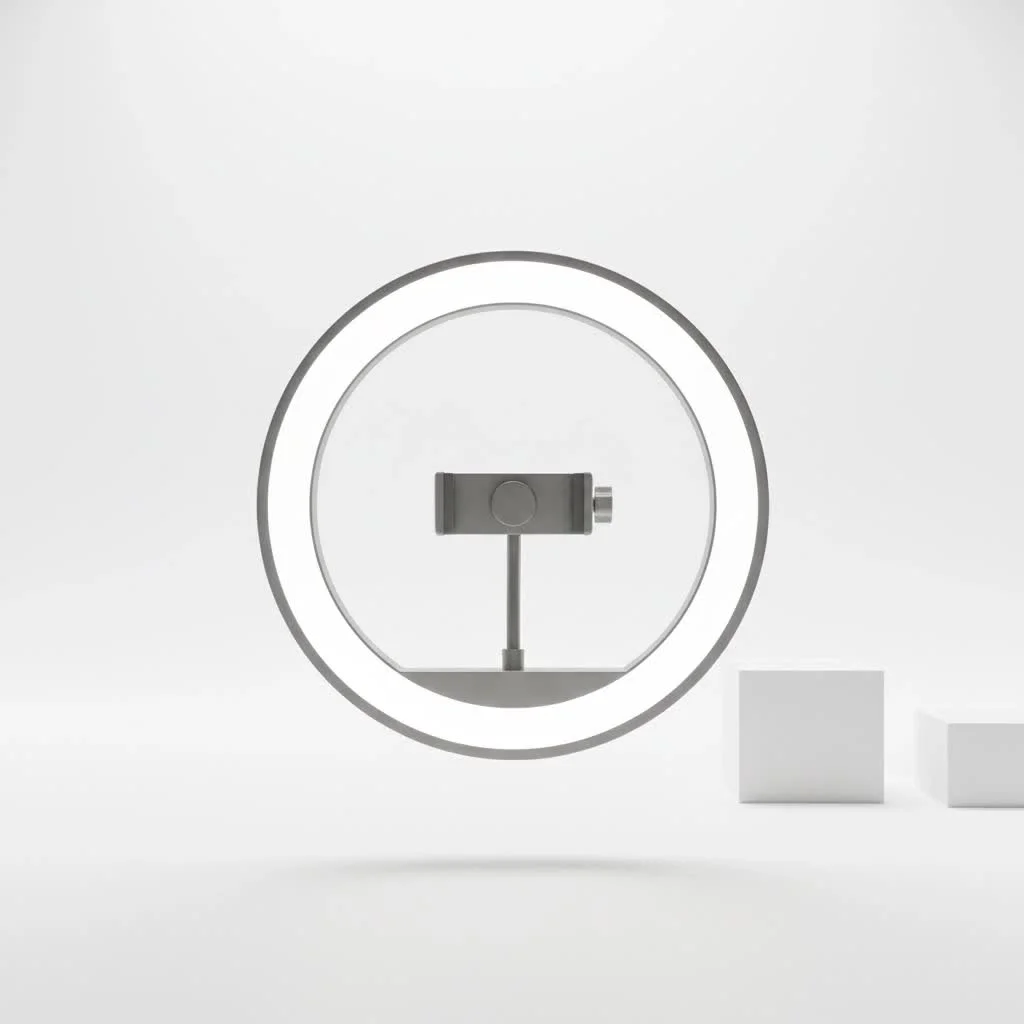
A high-quality ring light for photography is a circular light source that provides uniform, shadowless illumination, making it an essential tool for content creators, makeup artists, and portrait photographers to achieve professional, evenly lit images. By surrounding the camera lens, it eliminates harsh shadows and creates distinctive circular catchlights in the subject’s eyes, enhancing portraits and beauty shots with a polished, glamorous look.
What is a Ring Light and Why Do You Need One?
A ring light is exactly what it sounds like: a circular light source that provides uniform illumination from all directions. It’s designed for you to shoot through the center of the ring, placing your camera lens in the perfect position to capture the light’s full effect. This unique design is what makes it so powerful for photography. For ring lights buying guides on this site.
The primary benefits of using a ring light include:
- Shadowless Illumination: By surrounding your camera’s lens, the light hits your subject from every angle. This effectively eliminates the harsh shadows that a single, off-camera light source can create, resulting in a clean, flattering, and modern look.
- Beautiful Catchlights: The ring light produces a signature “halo” or circular catchlight in the subject’s eyes. This adds a spark of life and a professional gloss to portraits that is difficult to replicate with other lighting setups.
- Even, Diffused Light: The light wraps around your subject, softening skin texture and minimizing the appearance of blemishes. It’s like having a portable, instant beauty filter.
Choosing the Perfect Ring Light for Your Photography
Not all ring lights are created equal. When you’re ready to invest in a ring light for photography, there are several key technical specifications to consider to ensure you get the right tool for the job.
Size Matters: Finding the Right Diameter
The size of the ring light directly impacts the softness and spread of the light.
- Small Ring Lights (8-12 inches): These are great for headshots, macro photography, or vlogging where the subject is close to the camera. They are portable and easy to set up.
- Large Ring Lights (18 inches and up): For half-body or full-body shots, a larger ring is necessary. A bigger light source produces softer, more flattering light that can cover a larger area.
Power and Brightness Control (Lumens & Dimming)
Your lighting needs will change with every shoot. A ring light with adjustable brightness, or a dimming feature, is essential. This allows you to dial in the perfect amount of light, whether you need a subtle fill or a powerful key light. Look for models that offer stepless dimming from 0% to 100% for maximum control.
Understanding Color Temperature (Kelvins)
|
Our Picks for the Best Ring Light in 2026
As an Amazon Associate I earn from qualifying purchases.
|
||
| Num | Product | Action |
|---|---|---|
| 1 | EMART 10\" Ring Light with 55\" Extendable Tripod Stands and Phone Holder, Dimmable LED Circle Round Light for Selfie Camera Photography/Makeup/YouTube Video/Vlogging/Live Streaming |

|
| 2 | Weilisi 10\" Ring Light with Stand 72\'\' Tall & Phone Holder,38 Color Modes Selfie Light with Tripod Stand,Stepless Dimmable/Speed LED Ring Light for iPhone & Android,YouTube, Makeup,TIK Tok |
|
| 3 | Weilisi 12\'\' Ring Light with Stand 72\'\' Tall & 2 Phone Holders,38 Color Modes Selfie Light with Tripod Stand, Big LED Ring Light for iPhone/Android/Camera,YouTube,Makeup |
|
| 4 | UBeesize 12\'\' Selfie Ring Light with 62’’ Tripod Stand for Video Recording, Live Streaming(YouTube, Instagram, TIK Tok), Compatible with Phones, Cameras and Webcams |
|
| 5 | 10\" Selfie Ring Light with 73\" Tripod Stand & 1 Phone Holder, LED Camera Ringlight with 48 RGB Colors Modes & Musical Rhythm Mode and 12 Brightness Dimmable for TikTok/Makeup/Photography/Vlog |
|
| 6 | NEEWER Basics 10\" Selfie Ring Light with Tripod Stand/3 Phone Holders Compatible with iPhone/3 Cold Shoes/Remote, LED Ringlight Lighting for YouTube TikTok Vlog Video Recording Makeup Streaming, R11 |
|
| 7 | Upgraded Ring Light for Laptop, Monitor, Desk & Phone – Eye-Caring LED Webcam Light with Screen-Safe Clip, Adjustable Monitor Mount, 50 Lighting Modes, Computer Light for Zoom, Streaming, Video Calls |
|
| 8 | Aureday 14\'\' Selfie Ring Light with 62\'\' Tripod Stand and Phone Holder, Dimmable LED Phone Ringlight for Makeup/Video Recording/Photography, Circle Lighting for All Cell Phones&Lightweight Cameras |
|
| 9 | Sensyne 10\'\' Ring Light with 50\'\' Extendable Tripod Stand, LED Circle Lights with Phone Holder for Live Stream/Makeup/YouTube Video/TikTok, Compatible with All Phones |
|
| 10 | STALLY 10.2\" Ring Light with Stand, 75\" Tall Ring Light with Phone Holder and Wireless Remote, 12 Dimming Levels, 32 Color Modes Selfie Light Tripod for iPhone, Live Stream, Makeup, YouTube, TikTok |
|
Color temperature determines whether the light appears warm (yellowish) or cool (bluish). For photography, you need versatility.
- Daylight Balanced: Many lights are fixed at around 5600K, which mimics natural daylight.
- Bi-Color Models: The best option is a bi-color ring light that allows you to adjust the temperature, typically from a warm 3200K to a cool 5600K or higher. This lets you match the ambient light of your environment or create specific moods without using color gels.
As professional portrait photographer David Chen notes, “A bi-color ring light is a major upgrade. The ability to match my light’s temperature to the sunset or the indoor lights of a studio gives me creative freedom and saves me a ton of time in post-production.”
The Secret to True Colors: Color Rendering Index (CRI)
The Color Rendering Index (CRI) is arguably the most important specification for any ring light for photography. It measures how accurately the light reveals the true colors of your subject. A low CRI light will make skin tones look unnatural and colors appear dull. For professional results, always choose a ring light with a CRI of 95 or higher. This ensures that the colors you capture in-camera are vibrant and true to life.
How to Use a Ring Light for Photography: Pro Techniques
Owning a ring light is one thing; knowing how to use it effectively is another. Here are a few professional setups to get you started.
1. The Classic On-Axis Setup
This is the most common technique. Place the ring light directly in front of your subject and position your camera to shoot through the center. This creates the signature shadowless look and the classic halo catchlights in the eyes. It’s perfect for beauty shots and classic portraits.
2. Using it as a Fill Light
A ring light doesn’t always have to be your main light source (key light). In a multi-light setup, you can use a ring light as a fill light. Place your key light (like a softbox) to one side of the subject to create depth and dimension, then place the ring light in front at a lower power setting. This will soften any harsh shadows created by the key light without completely eliminating them.
3. Getting Creative with Off-Axis Lighting
For a more dramatic look, try moving the ring light off to the side or above the subject. This will create soft shadows and shape, adding more dimension than the traditional on-axis setup. Experiment with different angles to see how it changes the mood and contours of your subject’s face.
Essential Ring Light Accessories
To get the most out of your ring light, you’ll need a few key accessories:
- A Sturdy Light Stand: Don’t risk your gear with a flimsy stand. Invest in a stable, adjustable light stand that can hold the weight of your ring light and camera securely.
- Phone and Camera Mounts: Most ring lights come with a cold shoe mount or a threaded screw in the center to attach a ball head for your camera or a clamp for your smartphone.
- Diffusers: Some ring lights come with a built-in diffusion panel to soften the light. If yours doesn’t, you can purchase a snap-on diffuser. This is crucial for creating that soft, flattering glow.
Frequently Asked Questions (FAQ)
Is a bigger ring light always better for photography?
Not necessarily. A bigger ring light produces softer light and covers a wider area, which is ideal for larger subjects or group shots. However, for headshots or macro work, a smaller ring light can be more manageable and provide the desired effect.
Can I use a ring light for product photography?
Yes, a ring light is an excellent tool for product photography, especially for small, reflective items. It provides even, shadow-free illumination that highlights details without creating harsh glares.
What’s the difference between an LED and a fluorescent ring light?
LED ring lights are the modern standard. They are more energy-efficient, longer-lasting, don’t heat up, and often offer bi-color and dimming capabilities. Fluorescent models are an older technology that can produce a slight flicker and have a fixed color temperature. Always opt for LED.
How do I avoid the ring reflection in my subject’s glasses?
This can be tricky. Try raising the ring light higher than the subject’s eye level and angling it down. You can also move the light slightly to the side (off-axis) until the reflection moves out of the eyeglass frame.
Do I need a ring light if I have a softbox?
They serve different purposes. A softbox creates soft, directional light, which is great for creating shape and mood with soft shadows. A ring light for photography excels at creating a flat, shadowless, and glamorous look. Many professional photographers own both to have versatile lighting options.
A Brighter Future for Your Photos
Mastering lighting is a journey, but the right ring light can be a powerful shortcut to achieving professional-quality results. By understanding the key features like size, CRI, and color temperature, you can confidently choose a tool that fits your creative vision. Whether you’re shooting stunning portraits, crisp product photos, or engaging video content, a ring light provides the consistent, flattering illumination you need to make your work shine. Now, go out there and start creating beautifully lit images.
Frequently Asked Questions
Is a larger ring light always better for photography?
Not necessarily. A larger ring light (18 inches and up) produces softer light and covers a wider area, ideal for half-body or full-body shots. However, for headshots, macro work, or vlogging where the subject is close, a smaller ring light (8-12 inches) is often more manageable and effective.
Can a ring light be used for product photography?
Yes, a ring light is an excellent tool for product photography, especially for small, reflective items. It provides even, shadow-free illumination that highlights details without creating harsh glares, making products appear crisp and professional.
What is the key difference between LED and fluorescent ring lights?
LED ring lights are the modern standard, offering superior energy efficiency, longer lifespan, and minimal heat output. They typically include bi-color and dimming capabilities, unlike older fluorescent models which can flicker and have fixed color temperatures. Always choose an LED ring light for optimal performance.
How can I prevent ring reflections in a subject's glasses?
To avoid ring reflections in glasses, try raising the ring light higher than the subject's eye level and angling it slightly downwards. Alternatively, move the light slightly off-axis to the side until the reflection shifts out of the eyeglass frame, requiring some experimentation.
Do I need a ring light if I already own a softbox?
A ring light and a softbox serve different purposes in photography. A softbox creates soft, directional light for shape and mood, while a ring light excels at producing a flat, shadowless, and glamorous look with signature catchlights. Many professional photographers own both for versatile lighting options.
How to Use a Ring Light for Photography
Learn three professional techniques to effectively use a ring light for various photography styles, from classic portraits to dramatic off-axis lighting.
Place the ring light directly in front of your subject. Position your camera to shoot through the center of the ring. This setup creates the signature shadowless look and classic halo catchlights, ideal for beauty shots and traditional portraits.
In a multi-light setup, use the ring light as a fill light. Position your main key light (e.g., a softbox) to one side of the subject for depth. Then, place the ring light in front at a lower power setting to soften harsh shadows created by the key light without fully eliminating them.
For a more dramatic effect, move the ring light off to the side or above your subject. This technique introduces soft shadows and shape, adding more dimension than the traditional on-axis setup. Experiment with different angles to discover how they alter the mood and contours of your subject's face.
Get our weekly buyer guide
Practical specs, not advice. Unsubscribe anytime.
I got a ring light for some portrait photography, and while it does a good job with even lighting, I found the setup a bit fiddly. The stand isn’t as sturdy as I’d like, and it took a while to get my camera lens perfectly centered. It works, but I wish the build quality was a little better for the price range.
As a budding portrait photographer, I was looking for ways to enhance my shots. The idea of eliminating harsh shadows really appealed to me. This ring light delivers on that promise, and my subjects look much more polished. It’s made a noticeable improvement in the overall quality of my photos.
I’ve been using a basic ring light for my makeup tutorials for a while, but after reading about the benefits of shadowless illumination, I decided to upgrade. The difference is incredible! My videos look so much more professional now, and the catchlights in my eyes are exactly what I was hoping for. Definitely worth the investment for any content creator.
I do a lot of close-up product photography for my blog, and getting consistent lighting was always a struggle. The uniform illumination from my new ring light has been a game-changer. No more weird shadows on my product shots, and everything looks so much clearer and brighter. Highly recommend for anyone doing detailed photography.