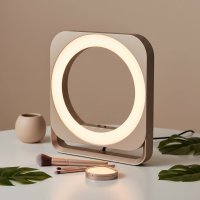
The secret to those flawless, beautifully lit portraits and crisp product shots you see online is often simpler than you think. It doesn’t always require a complex, multi-light studio setup. Often, the hero behind that shadowless, captivating look is a single, versatile tool: the LED ring light. If you’ve ever struggled with harsh shadows or unflattering lighting, mastering led ring light photography will fundamentally change your creative process. This guide will walk you through everything from choosing the right light to professional techniques that will elevate your images from amateur to amazing.
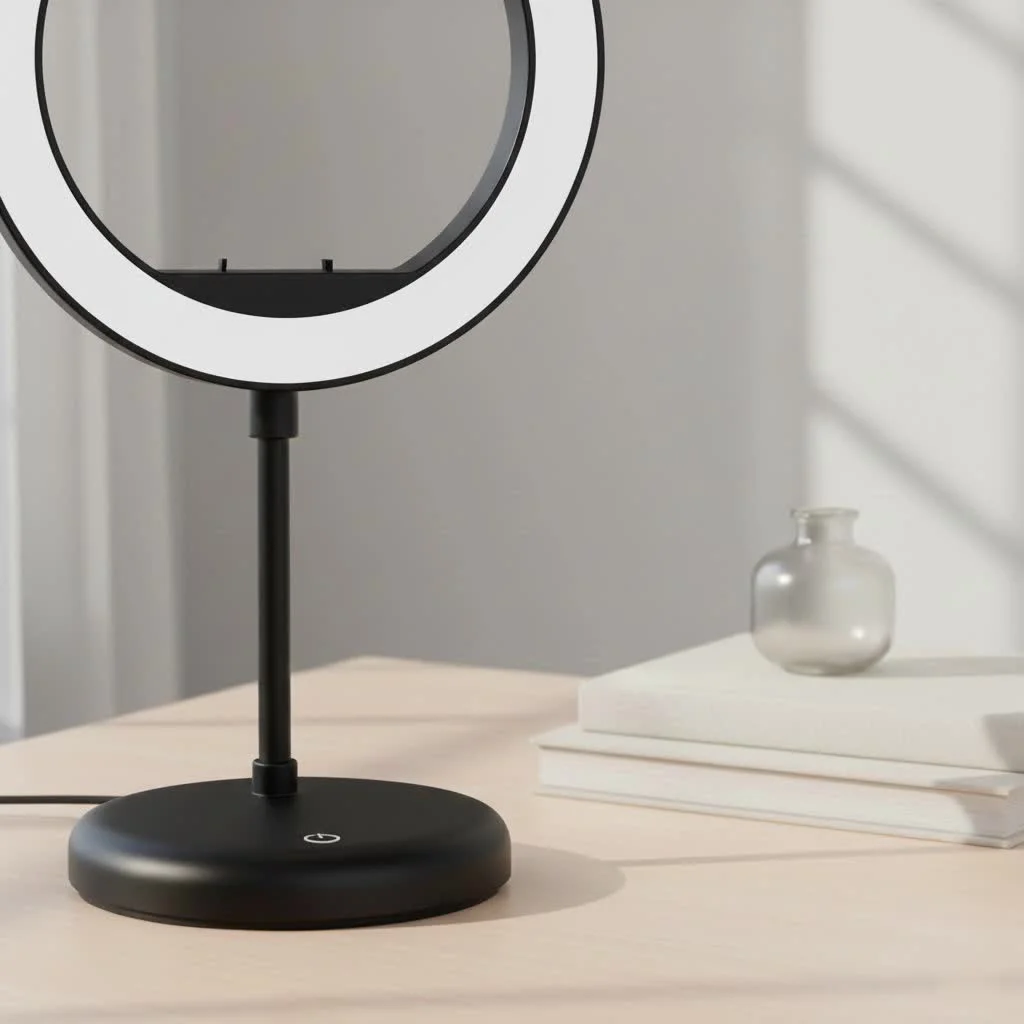
What is an LED Ring Light and Why Do You Need One?
At its core, an LED ring light is a circular lighting instrument that provides uniform, diffused illumination from the point of view of the camera. Imagine a perfect circle of soft light with your camera lens sitting right in the middle. This unique design allows it to cast an even glow on a subject, effectively eliminating the harsh shadows that often plague photos taken with a single, off-center light source.
Unlike a traditional flash or lamp that creates directional light and deep shadows, a ring light wraps your subject in a gentle radiance. This is why it has become an indispensable tool for photographers, videographers, and content creators.
The key benefits include:
- Shadowless Illumination: Its primary advantage is producing a soft, even light that minimizes or completely removes shadows from a subject’s face or surface, making it ideal for portraits and product shots.
- Iconic Catchlights: A ring light creates a signature circular reflection in the subject’s eyes, known as a catchlight. This adds a beautiful sparkle and a sense of life to portraits.
- Flattering Light Quality: The diffused light helps to smooth out skin texture and reduce the appearance of blemishes, creating a universally flattering effect.
- Highlighting Detail: For macro photography or detailed work like makeup tutorials, the ring light illuminates every fine detail without casting distracting shadows.
Choosing Your Perfect LED Ring Light: A Quick Guide
Stepping into the world of ring lights can feel overwhelming with all the options available. However, you can narrow down the perfect choice by focusing on a few key features that directly impact your photography.
On-Camera vs. Off-Camera
Your first decision is how you want to mount the light.
- On-Camera Ring Lights: These are smaller units that attach directly to the front of your camera lens. They are primarily used in macro photography, where you need to get very close to small subjects like insects or jewelry, ensuring the subject is perfectly lit without the lens casting a shadow.
- Off-Camera Ring Lights: These are larger, more powerful lights mounted on their own stand. This is the most common type used for portrait, video, and product photography. It offers far more versatility, allowing you to control the height, angle, and distance of the light from your subject.
Size and Power
|
Our Picks for the Best Ring Light in 2026
As an Amazon Associate I earn from qualifying purchases.
|
||
| Num | Product | Action |
|---|---|---|
| 1 | UBeesize 12\'\' Selfie Ring Light with 62’’ Tripod Stand for Video Recording, Live Streaming(YouTube, Instagram, TIK Tok), Compatible with Phones, Cameras and Webcams |

|
| 2 | Weilisi 12\'\' Ring Light with Stand 72\'\' Tall & 2 Phone Holders,38 Color Modes Selfie Light with Tripod Stand, Big LED Ring Light for iPhone/Android/Camera,YouTube,Makeup |
|
| 3 | STALLY 10.2\" Ring Light with Stand, 75\" Tall Ring Light with Phone Holder and Wireless Remote, 12 Dimming Levels, 32 Color Modes Selfie Light Tripod for iPhone, Live Stream, Makeup, YouTube, TikTok |
|
| 4 | Upgraded Ring Light for Laptop, Monitor, Desk & Phone – Eye-Caring LED Webcam Light with Screen-Safe Clip, Adjustable Monitor Mount, 50 Lighting Modes, Computer Light for Zoom, Streaming, Video Calls |
|
| 5 | Sensyne 10\'\' Ring Light with 50\'\' Extendable Tripod Stand, LED Circle Lights with Phone Holder for Live Stream/Makeup/YouTube Video/TikTok, Compatible with All Phones |
|
| 6 | NEEWER Basics 10\" Selfie Ring Light with Tripod Stand/3 Phone Holders Compatible with iPhone/3 Cold Shoes/Remote, LED Ringlight Lighting for YouTube TikTok Vlog Video Recording Makeup Streaming, R11 |
|
| 7 | EMART 10\" Ring Light with 55\" Extendable Tripod Stands and Phone Holder, Dimmable LED Circle Round Light for Selfie Camera Photography/Makeup/YouTube Video/Vlogging/Live Streaming |
|
| 8 | Weilisi 10\" Ring Light with Stand 72\'\' Tall & Phone Holder,38 Color Modes Selfie Light with Tripod Stand,Stepless Dimmable/Speed LED Ring Light for iPhone & Android,YouTube, Makeup,TIK Tok |
|
| 9 | Aureday 14\'\' Selfie Ring Light with 62\'\' Tripod Stand and Phone Holder, Dimmable LED Phone Ringlight for Makeup/Video Recording/Photography, Circle Lighting for All Cell Phones&Lightweight Cameras |
|
| 10 | 10\" Selfie Ring Light with 73\" Tripod Stand & 1 Phone Holder, LED Camera Ringlight with 48 RGB Colors Modes & Musical Rhythm Mode and 12 Brightness Dimmable for TikTok/Makeup/Photography/Vlog |
|
When it comes to ring lights, size directly influences the quality of light. A larger ring light will produce a softer, more diffused light that can wrap around a larger subject, like a person from the waist up. A smaller ring light is more suited for headshots or small products. As a general rule, a diameter of 14 to 18 inches is a versatile starting point for portrait work.
Key Features to Look For
Beyond the basics, these three technical specs will determine the quality and control you have over your images:
- Brightness Control (Dimmability): This is non-negotiable. The ability to adjust the brightness allows you to balance the ring light with the ambient light in the room or dial in the exact intensity needed for your shot. Without it, you’re stuck with one light level that might be too harsh or too weak.
- Adjustable Color Temperature: Many modern LED ring lights allow you to change the color temperature, measured in Kelvin (K). This lets you shift the light from a warm, orange-ish tone (around 3200K) to a cool, blue-ish daylight tone (around 5600K). This feature is crucial for matching the light to your environment or creating a specific mood in your photograph.
- CRI (Color Rendering Index): This is a more professional specification, but it’s incredibly important for accurate work. CRI measures a light’s ability to faithfully reveal the colors of an object compared to natural light. A CRI of 90+ is considered excellent and will ensure that skin tones, makeup, and product colors look natural and vibrant in your photos.
How to Use Your Ring Light for Stunning Photography
Once you’ve chosen your light, it’s time to start shooting. The setup is refreshingly simple, but small adjustments can make a huge difference in your final image.
The Classic Portrait Setup
For that signature, high-impact portrait, the process is straightforward.
- Position the Light: Place the ring light on its stand directly in front of your subject.
- Position the Camera: Mount your camera on a tripod and position it so the lens is shooting through the center of the ring.
- Adjust Height: Raise or lower the light stand so the center of the ring is at your subject’s eye level. This creates the most direct and flattering light.
- Set Your Camera: A good starting point for manual camera settings is an aperture of f/5.6, a shutter speed of 1/160s, and an ISO of 100 or 200.
- Dial in the Light: Turn on the ring light and adjust the brightness until your subject is perfectly exposed. Take a test shot and adjust the light’s power or your camera settings as needed.
“The beauty of the ring light is its simplicity,” says professional portrait photographer Alex Dawson. “It gives you this clean, glamorous light without the fuss. My go-to advice for anyone starting out is to place the light about three feet from the subject. This gives a soft, wrapping light with those perfect circular catchlights in the eyes.”
Perfecting Product and Macro Photography
For small products or macro shots, a ring light provides invaluable clarity. Position the light slightly above the object and angle it down. This will highlight textures and details while preventing any direct, harsh reflections on shiny surfaces. Because the light source is so even, you can capture intricate details without losing anything to shadows.
Creative Lighting Techniques
Don’t be afraid to think outside the box. A ring light doesn’t always have to be placed directly in front of your subject.
- Use it as a Prop: Especially with larger LED rings that don’t get hot, you can have your subject interact with the light, holding it or framing their face with it for a creative, futuristic look.
- Create a Halo: Place the ring light behind your subject, completely out of the frame, to create a beautiful rim light or halo effect that separates them from the background.
Common Mistakes to Avoid in LED Ring Light Photography
While easy to use, ring lights have a few common pitfalls that can be easily sidestepped.
- Creating Flat Light: Because a ring light illuminates from every angle, it can sometimes produce an image that looks “flat” or lacks dimensional shadows. To combat this, you can either move the light slightly to one side to create soft modeling shadows or use it as a fill light in combination with another key light.
- Ignoring the Background: The ring light will only illuminate your subject. Make sure your background is either intentionally dark or separately lit to avoid your subject looking like they are floating in a void.
- Glare in Glasses: The circular shape is notorious for creating obvious reflections in eyeglasses. To fix this, simply raise the light stand so the ring is higher than the subject’s eyeline and have them tilt their head down slightly. The reflection will be pushed out of the frame of their glasses.
Frequently Asked Questions (FAQ)
Q: Can I use a ring light as my only light source?
A: Absolutely. For many applications like headshots, vlogging, and makeup tutorials, a single ring light is all you need for beautiful, even lighting. For more complex, dramatic portraits, you may want to combine it with other lights to add depth.
Q: What’s the difference between an LED ring light and a ring flash?
A: An LED ring light provides continuous light, meaning it stays on, which is ideal for video and for seeing exactly how the light is falling on your subject before you shoot. A ring flash provides a quick burst of light, much like a traditional camera flash, and is more commonly used for technical or macro photography.
Q: How do I get rid of the ring reflection in my subject’s eyes if I don’t want it?
A: The catchlight is a signature look, but if you want to avoid it, you’ll need to use the ring light as an off-axis source. Move it to the side or raise it significantly higher, using it more like a traditional softbox. This will create a different lighting pattern but will remove the circular reflection.
Q: What size ring light is best for portraits?
A: For head-and-shoulders portraits, a ring light with a diameter between 14 and 18 inches is ideal. It’s large enough to cast a soft, wrapping light on the face. For full-body shots, you would need a much larger ring light or would need to use it in combination with other light sources.
Your New Go-To for Perfect Lighting
The LED ring light is more than just a trend; it’s a powerful and accessible tool that solves one of photography’s biggest challenges: creating soft, flattering, and consistent light. It removes the guesswork and provides a reliable foundation for stunning images, whether you’re shooting portraits, products, or videos. By understanding the key features and mastering a few simple setups, you can unlock a new level of quality in your work. So go ahead, experiment with your led ring light photography and see the dramatic difference it can make.
Get our weekly buyer guide
Practical specs, not advice. Unsubscribe anytime.