A wall mounted ring light is a permanent, space-saving lighting solution that provides consistent, flattering illumination for content creation, makeup application, and professional studios. By eliminating bulky tripods, these lights free up floor space and enhance stability, ensuring a clutter-free and efficient workspace. They are particularly beneficial for small studios, salons, and content creators who require reliable, fixed lighting.
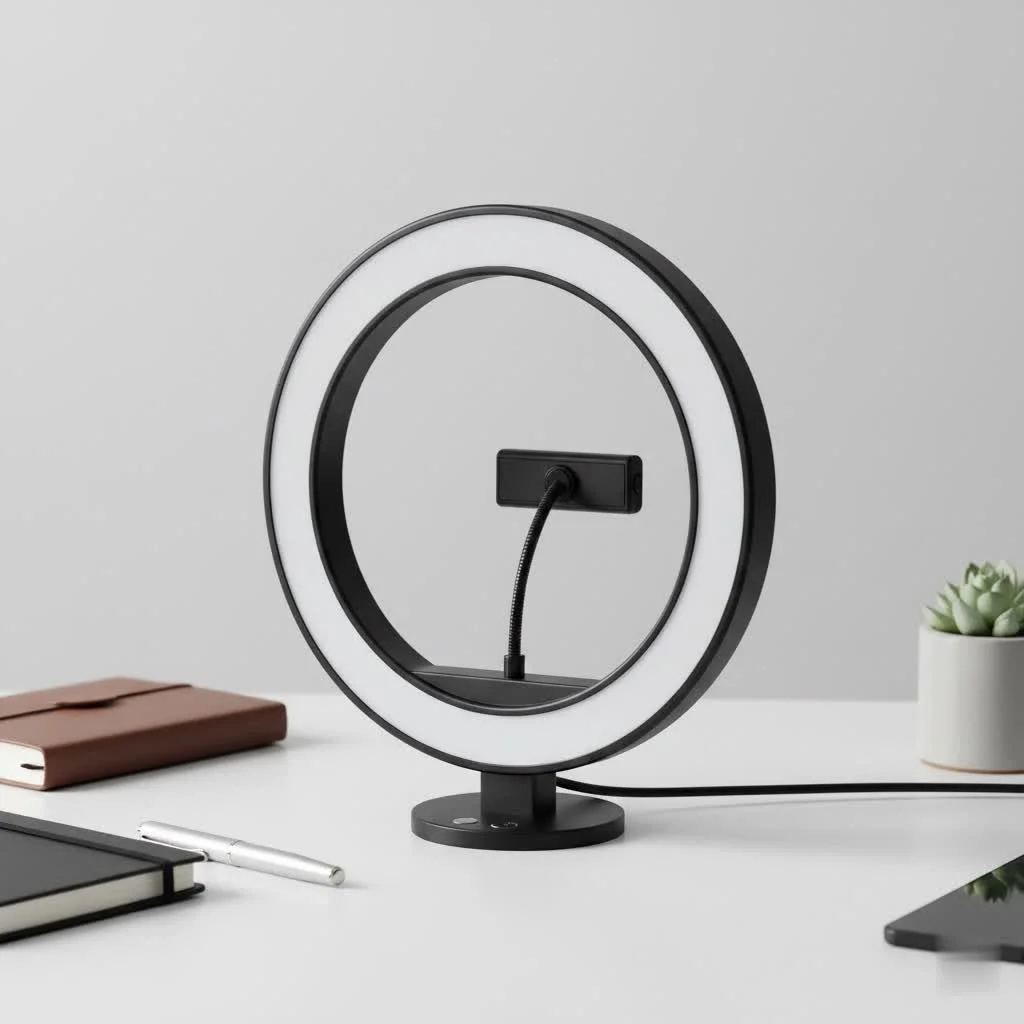
More than just a light source, a wall mounted ring light is a reliable fixture designed to provide consistent, flattering light exactly where needed. Securing the light to a wall eliminates the risk of accidental tip-overs and frees up your workspace, creating a more professional and efficient environment. For expert ring lights reviews on this site.
Why Choose a Wall Mounted Ring Light?
The primary advantage of a wall mounted ring light is its ability to save space. In smaller studios, apartments, or salon stations, floor space is a premium commodity. By elevating your lighting, you create a cleaner, more organized, and safer workspace.
Beyond organization, stability is a key benefit. Unlike tripods that can be wobbly or easily knocked over, a wall mount provides a rock-solid foundation for your light. This ensures your lighting setup remains consistent between sessions, which is crucial for content creators and professionals who rely on a repeatable look. The fixed position means you spend less time adjusting and more time creating.
How to Select the Perfect Wall Mounted Ring Light
Choosing the right model involves considering several technical specifications. Understanding these features will help you find a light that perfectly matches your needs, whether you’re a makeup artist, a streamer, or a videographer.
Size and Diameter
The size of the ring light, typically measured by its diameter, directly impacts the softness and spread of the light.
- 10-14 inches: Ideal for close-up work like makeup application, headshots, or video calls. They produce a focused light with defined catchlights in the eyes.
- 18 inches or larger: Better suited for illuminating a wider area, such as a full torso shot for vlogging or product photography. The larger surface creates a softer, more diffused light that minimizes harsh shadows.
Brightness and Dimming Control
Brightness, measured in lumens, determines the light’s maximum output. Look for a model with a wide dimming range, often from 1% to 100%. This flexibility allows you to precisely control the intensity, from a subtle fill light to a powerful key light, adapting to any ambient lighting conditions without having to physically move the light.
Color Temperature Control
|
Our Picks for the Best Ring Light in 2026
As an Amazon Associate I earn from qualifying purchases.
|
||
| Num | Product | Action |
|---|---|---|
| 1 | EMART 10\" Ring Light with 55\" Extendable Tripod Stands and Phone Holder, Dimmable LED Circle Round Light for Selfie Camera Photography/Makeup/YouTube Video/Vlogging/Live Streaming |

|
| 2 | Aureday 14\'\' Selfie Ring Light with 62\'\' Tripod Stand and Phone Holder, Dimmable LED Phone Ringlight for Makeup/Video Recording/Photography, Circle Lighting for All Cell Phones&Lightweight Cameras |
|
| 3 | Sensyne 10\'\' Ring Light with 50\'\' Extendable Tripod Stand, LED Circle Lights with Phone Holder for Live Stream/Makeup/YouTube Video/TikTok, Compatible with All Phones |
|
| 4 | Upgraded Ring Light for Laptop, Monitor, Desk & Phone – Eye-Caring LED Webcam Light with Screen-Safe Clip, Adjustable Monitor Mount, 50 Lighting Modes, Computer Light for Zoom, Streaming, Video Calls |
|
| 5 | 10\" Selfie Ring Light with 73\" Tripod Stand & 1 Phone Holder, LED Camera Ringlight with 48 RGB Colors Modes & Musical Rhythm Mode and 12 Brightness Dimmable for TikTok/Makeup/Photography/Vlog |
|
| 6 | Weilisi 12\'\' Ring Light with Stand 72\'\' Tall & 2 Phone Holders,38 Color Modes Selfie Light with Tripod Stand, Big LED Ring Light for iPhone/Android/Camera,YouTube,Makeup |
|
| 7 | UBeesize 12\'\' Selfie Ring Light with 62’’ Tripod Stand for Video Recording, Live Streaming(YouTube, Instagram, TIK Tok), Compatible with Phones, Cameras and Webcams |
|
| 8 | STALLY 10.2\" Ring Light with Stand, 75\" Tall Ring Light with Phone Holder and Wireless Remote, 12 Dimming Levels, 32 Color Modes Selfie Light Tripod for iPhone, Live Stream, Makeup, YouTube, TikTok |
|
| 9 | Weilisi 10\" Ring Light with Stand 72\'\' Tall & Phone Holder,38 Color Modes Selfie Light with Tripod Stand,Stepless Dimmable/Speed LED Ring Light for iPhone & Android,YouTube, Makeup,TIK Tok |
|
| 10 | NEEWER Basics 10\" Selfie Ring Light with Tripod Stand/3 Phone Holders Compatible with iPhone/3 Cold Shoes/Remote, LED Ringlight Lighting for YouTube TikTok Vlog Video Recording Makeup Streaming, R11 |
|
Color temperature, measured in Kelvin (K), dictates the warmth or coolness of the light.
- Daylight (5600K): A fixed, cool-toned light that mimics natural daylight. It’s excellent for accurate color representation, making it a favorite among makeup artists.
- Bi-Color (3200K – 5600K): These models offer adjustable color temperature, allowing you to blend the ring light’s output with ambient room lighting. You can go from a warm, cozy tungsten look to a crisp, clean daylight feel with the turn of a dial.
According to professional lighting technician Marcus Thorne, “The ability to adjust color temperature on the fly is non-negotiable for video work. It allows you to match existing light sources seamlessly, saving you hours in post-production.”
Mount Type and Adjustability
The arm of a wall mounted ring light is crucial for its versatility. Look for an articulating or gooseneck-style arm that allows you to extend, retract, and pivot the light into the perfect position. A high-quality mount will hold its position firmly without sagging over time. Check the maximum extension length to ensure it can reach where you need it.
Power Source
Most wall mounted ring lights are powered via a standard AC adapter that plugs into a wall outlet. Some professional salon models may be designed for hardwiring directly into your building’s electrical system, offering a cleaner look with no visible cables. For most users, a simple plug-in model provides sufficient power and is much easier to install.
Installing Your Wall Mounted Ring Light: A Simple Guide
While every model is different, the installation process generally follows these steps. Always consult the manufacturer’s instructions for specific details.
- Choose Your Location: Identify a spot on the wall that provides the best lighting angle for your subject. Ensure you are near a power outlet if using a plug-in model.
- Locate a Stud: For maximum security, you must mount the bracket to a wall stud. Use a stud finder to locate one. Mounting directly into drywall with anchors is possible but less secure, especially for heavier lights.
- Mark Your Holes: Hold the mounting bracket against the wall over the stud and use a pencil to mark where the screws will go. Use a level to ensure the bracket is straight.
- Drill Pilot Holes: Drill small pilot holes on your marks. This makes it easier to drive the screws in and prevents the wood from splitting.
- Secure the Bracket: Screw the mounting bracket firmly to the wall.
- Attach the Arm and Light: Connect the articulating arm to the wall bracket and then attach the ring light to the end of the arm.
- Connect Power: Plug in the AC adapter and route the cable neatly using clips if desired.
Who Benefits Most from a Wall Mounted Ring Light?
This type of lighting solution is particularly beneficial for professionals who need consistent, high-quality lighting in a fixed location.
Makeup Artists and Beauty Salons
For makeup artists, a wall mounted ring light provides shadowless, even illumination that reveals true-to-life colors. Mounting the light to the wall at a makeup station ensures it’s always perfectly positioned, creating a professional and uncluttered environment for clients.
Content Creators and Streamers
YouTubers, TikTok creators, and live streamers need a reliable lighting setup that they can turn on and start recording with. A wall-mounted solution eliminates setup time and ensures visual consistency across all their content, a key factor in building a professional brand.
Photographers and Videographers
In a dedicated studio, a wall mounted ring light can serve as an excellent key or fill light for portraits and interviews. Its fixed nature makes it a reliable part of a multi-light setup, always ready to go when inspiration strikes.
Frequently Asked Questions (FAQ)
What is the best height to mount a ring light?
The ideal height is eye level with your subject. For a seated subject, this is typically around 4-5 feet (1.2-1.5 meters) from the floor. The beauty of an adjustable arm is that you can easily modify the height and angle for different scenarios.
Can I mount a ring light on drywall?
While possible using heavy-duty drywall anchors, it is strongly recommended to mount the bracket directly into a wall stud. Ring lights, especially larger models with long arms, can exert significant leverage on the wall, and a stud provides the most secure support.
Are wall mounted ring lights dimmable?
Yes, virtually all modern LED wall mounted ring lights come with dimming capabilities. This allows you to adjust the brightness to perfectly match your environment and desired effect.
Do I need a bi-color ring light?
A bi-color (adjustable color temperature) model offers the most versatility. It allows you to match the warm or cool tones of other lights in your room. If you only work in a controlled environment with no other light sources, a simpler daylight-balanced model may be sufficient.
Is a bigger ring light always better?
Not necessarily. The “best” size depends on your subject. For head-and-shoulders shots or makeup work, an 18-inch light is often considered the sweet spot. For wider shots or illuminating a larger area, you may want to consider a 20-inch or larger model.
Your Permanent Solution for Perfect Lighting
A wall mounted ring light is a smart investment for anyone serious about quality and efficiency. It frees up valuable space, provides unmatched stability, and delivers the beautiful, soft illumination that ring lights are famous for. By choosing the right size, features, and mount, you can create a permanent, professional lighting setup that elevates your work and streamlines your creative process. Say goodbye to clutter and hello to consistent, flawless light.
Frequently Asked Questions
What is the ideal height for mounting a wall mounted ring light?
The ideal height for mounting a wall mounted ring light is eye level with your subject. For a seated subject, this typically translates to about 4-5 feet (1.2-1.5 meters) from the floor. An adjustable arm allows for easy modification of height and angle for various scenarios.
Is it safe to mount a ring light directly onto drywall?
While it is possible to mount a ring light onto drywall using heavy-duty anchors, it is strongly recommended to secure the bracket directly into a wall stud. Larger ring lights with long arms can exert significant leverage, and a stud provides the most secure and stable support.
Do wall mounted ring lights typically include dimming capabilities?
Yes, virtually all modern LED wall mounted ring lights come equipped with dimming capabilities, often ranging from 1% to 100% brightness. This feature allows users to precisely adjust the light intensity to match their environment and achieve the desired lighting effect.
When should I choose a bi-color wall mounted ring light?
A bi-color (adjustable color temperature) wall mounted ring light offers the most versatility, allowing you to match the warm or cool tones of other ambient lights in your room, typically between 3200K and 5600K. If you primarily work in a controlled environment without other light sources, a simpler daylight-balanced model (around 5600K) might suffice.
Does a larger ring light always provide better illumination?
Not necessarily; the optimal ring light size depends on your specific subject and use case. For head-and-shoulders shots or detailed makeup work, an 18-inch light is often considered ideal. For wider shots or illuminating a larger area, a 20-inch or larger model may be more suitable to create softer, more diffused light.
Install Your Wall Mounted Ring Light
Follow these general steps to install your wall mounted ring light securely. Always refer to the manufacturer's specific instructions for your model.
Identify the best wall spot for optimal lighting angle, ensuring it's near a power outlet if your ring light uses a plug-in AC adapter. Consider the subject's position and the desired light spread.
For maximum security and stability, use a stud finder to locate a wall stud. Mounting the bracket directly into a stud is highly recommended, especially for heavier lights, to prevent sagging or damage to drywall.
Hold the mounting bracket against the wall over the located stud and use a pencil to mark the screw positions. Use a level to ensure the bracket is perfectly straight before drilling small pilot holes to prevent wood splitting and ease screw insertion.
Screw the mounting bracket firmly to the wall stud. Then, connect the articulating arm to the wall bracket and attach the ring light to the end of the arm, ensuring all connections are tight and secure.
Plug in the AC adapter to a wall outlet. Route the power cable neatly using cable clips or ties if desired, to maintain a clean and professional appearance and prevent tripping hazards.
Get our weekly buyer guide
Practical specs, not advice. Unsubscribe anytime.
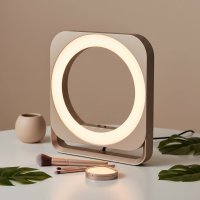
I was hesitant to get a permanent lighting solution, but the wall mounted ring light has exceeded my expectations. The benefit of eliminating bulky tripods was a huge selling point for me, and it really does make my workspace feel less cluttered. It’s perfect for my salon where I need reliable, fixed lighting for client photos. Highly recommend for anyone needing a stable and space-saving option.
I got a wall mounted ring light after reading about how stable they are compared to tripods. While it definitely doesn’t tip over, the installation was a bit more involved than I expected. I wish there were more options for adjustable arms; mine is a little too close to the wall for some of my angles. The light quality itself is good, but the mounting process was a minor hassle.
I finally invested in a wall mounted ring light for my small home studio and it’s been a game changer! The post mentioned how it frees up floor space and that’s exactly what I needed. My old tripod light was always getting in the way, but now my setup looks so much cleaner and more professional. The consistent, flattering illumination is perfect for my video calls and product photography.
This type of light is fantastic for makeup application and content creation. I appreciate not having to constantly adjust a tripod, and the fixed lighting really helps with consistency across my videos. It’s great for small apartments where every inch of space counts. The illumination is bright and even, making my tutorials look much more polished.